Network layer security

The exercises in this experiment will focus on security services offered at the network layer of the TCP/IP protocol stack. You will configure a network with a VPN tunnel, and then you will examine the extent to which you are protected from unauthorized eavesdroppers on network traffic, when you use a file transfer application (with and without application layer confidentiality).
It should take about 60-120 minutes to run this experiment.
You can run this experiment on Cloudlab, FABRIC, or Chameleon. Refer to the testbed-specific prerequisites listed below.
Cloudlab-specific instructions: Prerequisites
To reproduce this experiment on Cloudlab, you will need an account on Cloudlab, you will need to have joined a project, and you will need to have set up SSH access.
FABRIC-specific instructions: Prerequisites
To run this experiment on FABRIC, you should have a FABRIC account and be part of a FABRIC project.
Chameleon-specific instructions: Prerequisites
To run this experiment on Chameleon, you should have a Chameleon account with keys configured on KVM@TACC, and be part of a Chameleon project.
Run my experiment
For this experiment, we will use the topology illustrated here, with IP addresses as noted on the diagram and a subnet mask of 255.255.255.0 on each interface:

Follow the instructions for the testbed you are using (CloudLab, FABRIC, or Chameleon) to reserve the resources and log in to each of the hosts in this experiment.
Cloudlab-specific instructions: Reserve resources
To reserve these resources on Cloudlab, open this profile page:
Click "next", then select the Cloudlab project that you are part of and a Cloudlab cluster with available resources. (This experiment is compatible with any of the Cloudlab clusters.) Then click "next", and "finish".
Wait until all of the resources have turned green and have a small check mark in the top right corner of the "topology view" tab, indicating that they are fully configured and ready to log in. Then, click on "list view" to get SSH login details for the hosts and routers. Use these details to SSH into each.
When you have logged in to each node, continue to the next section.
FABRIC-specific instructions: Reserve resources
To run this experiment on FABRIC, open the JupyterHub environment on FABRIC, open a shell, and run
git clone https://github.com/teaching-on-testbeds/fabric-education network_security
cd network_security
git checkout network_security
Then, open the notebook titled "start_here.ipynb".
Follow along inside the notebook to reserve resources and get the login details for each host and router in the experiment.
When you have logged in to each node, continue to the next section.
Chameleon-specific instructions: Reserve resources
To run this experiment on Chameleon, open the JupyterHub environment on Chameleon, open a shell, and run
cd work
git clone https://github.com/teaching-on-testbeds/chameleon-education network_security
cd network_security
git checkout network_security
Then, open the notebook titled "start_here.ipynb".
Follow along inside the notebook to reserve resources and get the login details for each host and router in the experiment.
When you have logged in to each node, continue to the next section.
Next, we will need to set up the services used in this experiment.
FTP and STFP setup
In this exercise, we will compare FTP and SFTP, two applications used for file transfer to and from a remote host. SFTP tunnels FTP traffic over an SSH session.
First, we need to install the FTP server on the "server" node:
sudo apt update
sudo apt -y install vsftpd
Then, we need to set up a user account for remote access to the "server" host. On the "server", create a new user account with the username "shakespeare":
sudo useradd -m shakespeare -s /bin/shThen run
sudo passwd shakespeareand use your own user ID as the password - enter your user ID when prompted for a password, then hit "Enter". (No characters will appear as you type.)
We will also need to start an SSH server for SFTP. On the "server", run
sudo /usr/sbin/sshd -o ListenAddress=10.10.2.100 -o PasswordAuthentication=yes -f /usr/share/openssh/sshd_config -p 1000
and leave this running.
VPN setup
In our network topology, "romeo" is a host located within the "internal network", as is the "server". Another host, "juliet", is located outside the "internal network."
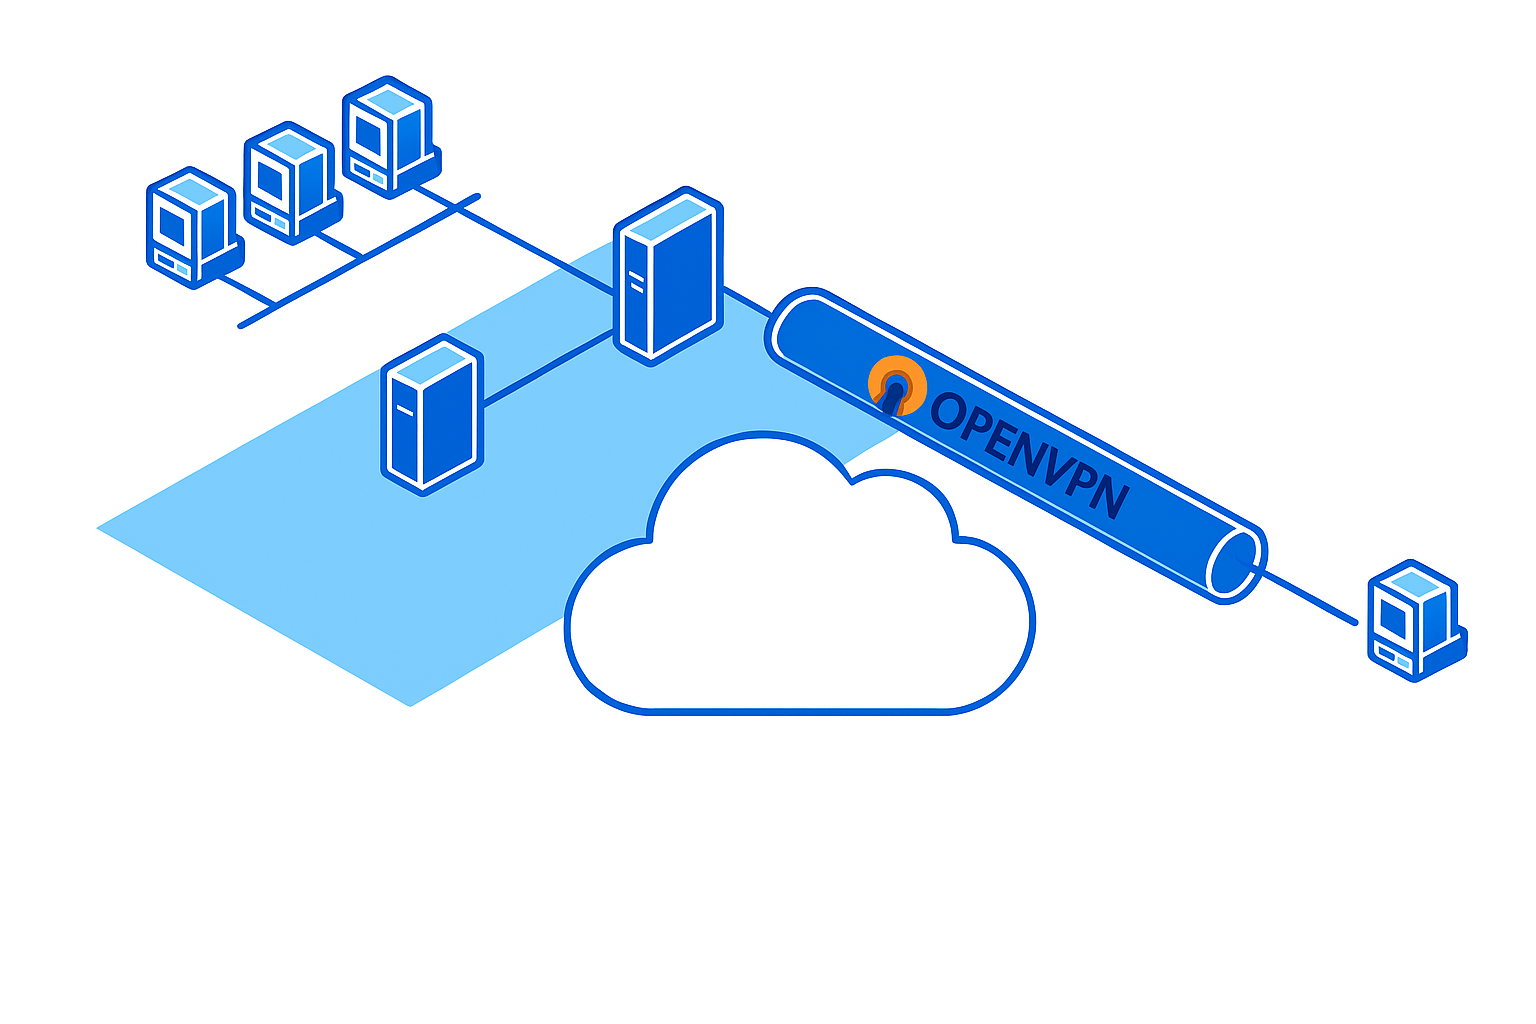
To allow secure access to the "internal network" from external networks, we will use a VPN. This works by creating a virtual tunnel between the host on the external network and the internal network. IP packets sent through this tunnel will be encrypted by the VPN software at the host on the external network, then decrypted by the VPN server at the interface to the "internal network".
We will configure the "vpn" host as the VPN server. (A VPN server must have a "public-facing" interface on the external network, to accept connections from outside, as well as an interface on the internal network.)
First, we need to install the VPN service on the "vpn" node and on the "juliet" node:
sudo apt update
sudo apt -y install openvpn
On "vpn", run
openvpn --genkey --secret static.key
to generate a cryptographic key. Then, run
cat static.key
to view the key. Copy the contents of the key file, then on "juliet", run
nano static.key
and paste the contents of the key file. Use Ctrl+O to save and Ctrl+X to exit nano.
Next, we are going to set up routes for the VPN traffic.
For the VPN tunnel, we will use the 10.10.8.0/24 subnet. We need to set up routes for this network prefix throughout the "internet" network.
On the "server" node, run
sudo ip route add 10.10.8.0/24 via 10.10.2.1
so that the server will route traffic destined for the VPN tunnel through the internal router. On the "router-int" node, run
sudo ip route add 10.10.8.0/24 via 10.10.3.100
so that the traffic destined for the VPN tunnel will go to the "vpn" node.
Now we are ready to prepare the VPN configuration.
On "vpn", run
nano server.ovpn
to create the OpenVPN configuration file, and place the following contents inside:
dev tun
local 10.10.4.100
remote 10.10.5.100
ifconfig 10.10.8.1 10.10.8.100
secret static.key
Use Ctrl+O to save and Ctrl+X to exit.
Then, run
sudo openvpn server.ovpn
to start the OpenVPN server. Leave this running.
On the "juliet" node, run
nano client.ovpn
and place the following contents inside:
dev tun
local 10.10.5.100
remote 10.10.4.100
ifconfig 10.10.8.100 10.10.8.1
secret static.key
route 10.10.2.0 255.255.255.0
Then, run
sudo openvpn client.ovpn
to connect to the VPN. Wait until you see
Initialization Sequence Completed
in the output.
In a second terminal on "juliet", run
ip addr
and note the new tun0 interface. Also run
ip route
and save the output. Observe: traffic for which prefix is routed through the VPN?
FTP and SFTP transfer over VPN
Now that the VPN tunnel is set up, let us see its security benefits. We will capture traffic at two locations:
- On the "router-ext" node, we'll capture traffic at the interface with the address 10.10.5.1. (Use
ip addrto identify the name of this interface.) By inspecting the packet capture at this location, we'll be able to see what is visible to a potential eavesdropper located somewhere along the network path between the client and the VPN server. - On the "router-int" node, we'll capture traffic at the interface with the address 10.10.2.1. (Use
ip addrto identify the name of this interface.) By inspecting the packet capture at this location, we'll be able to see what is visible to a potential eavesdropper located somewhere along the network path between the VPN server and the web, file, or login server that the client will connect to.
On the "router-ext" node and the "router-int" node, run
sudo tcpdump -i IFACE -w vpn-ftp-$(hostname -s).pcap
where in place of IFACE you use the interface name you identified as described above.
Then, on "juliet", run
ftp server
When prompted for a "Name", enter
shakespeare
and hit "Enter". Then, when prompted for a password, enter the password you set previously for the "shakespeare" user.
After you have successfully authenticated your FTP session (you will see the message "230 Login successful"), you will see an FTP prompt. At the FTP prompt, type
cd /etc
and then
get passwd
This will transfer a list of all usernames on the remote system over the FTP session. Finally, type
exit
in the FTP session and hit "Enter" to end it.
Stop the tcpdump running on both routers with Ctrl+C, and use scp to transfer these to your laptop.
Note: When you open the packet capture in Wireshark, you may notice that some of the packets sent over the VPN tunnel are labeled "Malformed Packet". This just means that Wireshark doesn't understand the format of the packet - it does not mean that something is wrong with it!
Next, we'll repeat with sftp, which offers application layer confidentiality.
On the "router-ext" node and the "router-int" node, run
sudo tcpdump -i IFACE -w vpn-sftp-$(hostname -s).pcap
where in place of IFACE you use the interface name you identified earlier.
While this is running, initiate an SFTP connection from "juliet" to "server" on port 1000 - on "juliet", run
sftp -P 1000 shakespeare@serverWhen prompted for a password, enter the password you set previously for the "shakespeare" user.
At the SFTP prompt, type
cd /etcand then
get passwdto retrieve the same file. Then, type
exit
in the SFTP session and hit "Enter" to end it.
Stop the tcpdump running on both routers with Ctrl+C, and use scp to transfer these to your laptop.
When you are finished with these exercises, also stop the VPN service.
Notes
Exercises
Use evidence from your packet captures to indicate which of the following an eavesdropper might see in each case (FTP and SFTP) and on each network path: (1) on the network path between the client and VPN server, and (2) on the network path between the VPN server and the FTP server:
- "true" IP address of "juliet" on the external network (not the address on the VPN tunnel!)
- IP address of the VPN server, "vpn" (i.e. the fact that the client is using this particular VPN server)
- Internal address of the "server" node (i.e. the fact that the client is connecting to this particular FTP or SFTP server)
- UDP port 1194 (i.e. this connection uses the well-known port number of OpenVPN, so eavesdroppers can identify it as VPN traffic)
- TCP port 21/22 (i.e. this connection uses the well-known port number of FTP/SFTP, so eavesdroppers can identify it as FTP/SFTP traffic)
- Session data (e.g. the name of the file that the user retrieves, the file contents)